
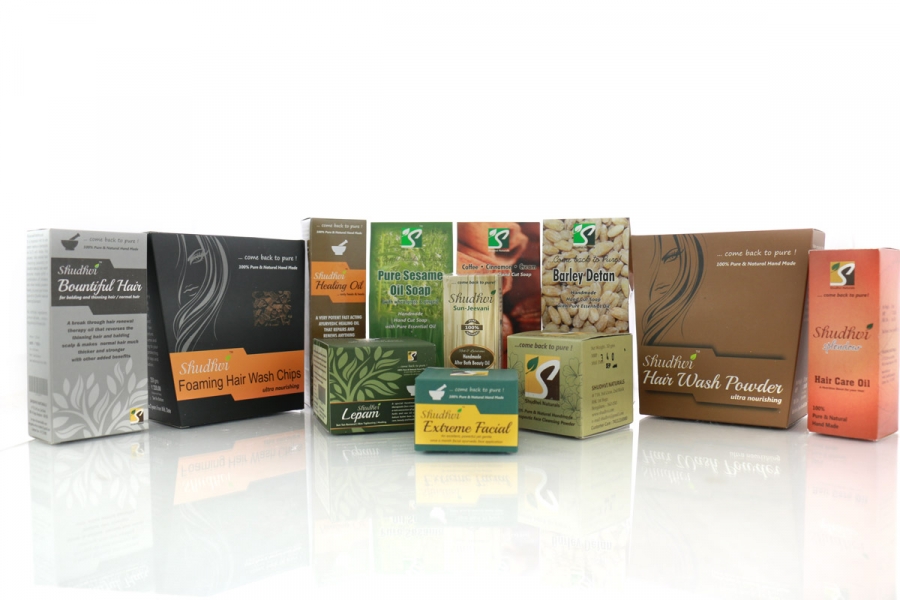
The perceived value of your products is directly impacted by the quality of your product's photographs
If there’s one thing that’s true when it comes to e-commerce, it's that the perceived value of your products and the trustworthiness of your business is often judged by the quality of your web design. And a big part of having an attractive website these days also means having high-quality, beautiful product photographs.
Showcasing your products with high-quality images can also be the winning difference between a conversion and no sale at all.
This is particularly true if you’re also distributing your products where they are displayed alongside those of your competitors like on Flipkart / Amazon.
What You Need To Get Started
- A Camera
- While Shooting on a DSLR & a fancy f1.4 lens is awesome, most of the time its not needed. There are some awesome Point & Shoot cameras and Phones that do the job if you are going to use the photographs on online market places.
- A Tripod
- Never underestimate the need of a good tripod.
- A good tripod can eliminate shake and help you get sharp images.
- If you do not have sufficient light, it allows you to use longer exposures without blur.
- Background(s)
- White is the most common, though for some products a contrasting colour makes your product stand out. If you are selling on your own custom website a contrasting background can also make your website stand out from the crowd.
- Light tents can be an excellent thing to buy if you want even soft lighting.
- An acrylic sheet can be a good buy as it can be easily cleaned and prevents cloth / surfaces from getting soiled.
- If white / transparency is what you want as a background, make sure to avoid all off-white colours.
- Reflectors
- When using light from a window /working with a single light source one side may be too dark / too bright
- You can have control over the shadows by using a reflector.
- Simplest and cheapest of reflectors can be a piece of thick cloth or paper.
- Note: Black removes light and can be used to block of excess light
- A Table / Working Surface
- It is generally not advisable to work at floor height, use a table or an elevated surface
- Light Tents or a table for photography is a good investment
- A Right place to work
- Depending on your needs and facilities available on hand you can choose between
- A place with lots of natural light
- A darker room where you can control all available light
- Whatever may be your choice, select a place with less wind, away from distractions ample space to unpack products shoot and pack them back. Yes, you can have shoots without ruining your products.
- Depending on your needs and facilities available on hand you can choose between
- Small Items
- Clips, pins, tape, glue etc : you name it , you stock it. Though these items are least expensive and easily available you never know when you when need it during a shoot.
General Tips for Shooting
- Set your White balance right
- Approx 5.5k for natural light / flashes / strobes
- For LED / Fluorescent / Incandescent bulbs - shoot in RAW as this generally allows you to correct WB after shooting
- Take a test shot of a 50% gray card or keep it in a corner of your frame (while photographing), this can come really handy while fixing white balance
- Do not mix different light sources of different white balance
- Set your camera to use sRGB
- This is the default colour profile used across the web (a default fallback if no colour profile is mentioned)
- This will give you an idea of how the end result will look during each stage of your workflow
- As a thumb rule
- Use the lowest ISO setting
- Keep a fast shutter to avoid blur / use a tripod if that is not possible